Orders Overview
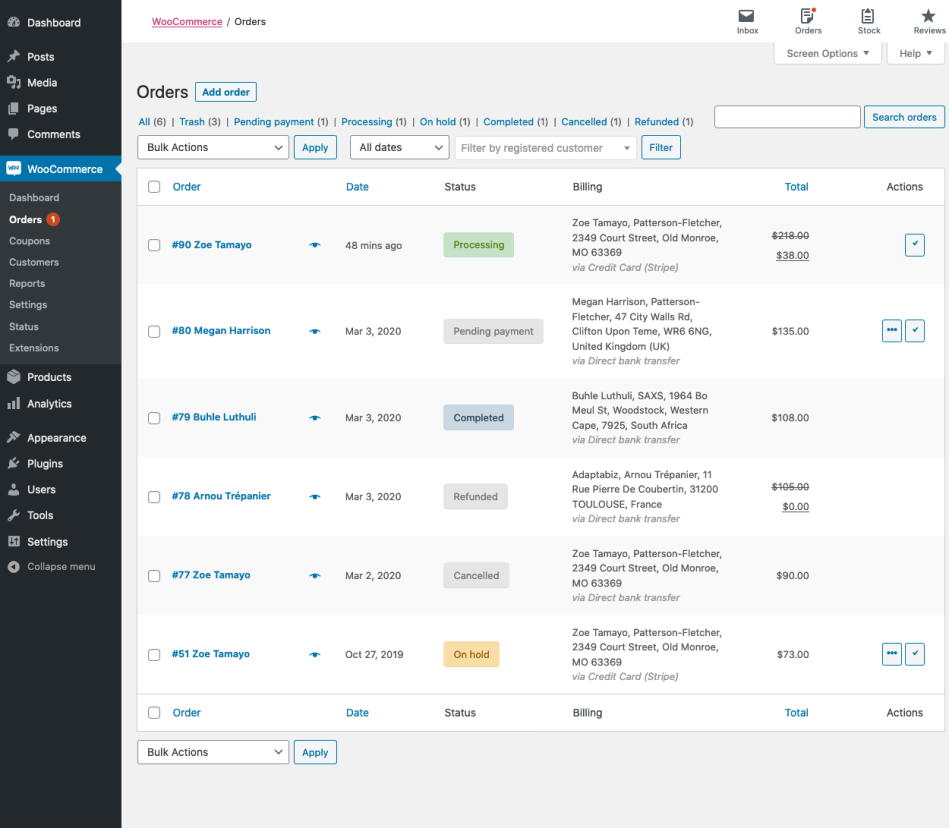
When a shop starts taking orders, the Orders management page begins to fill up. Go to: WooCommerce > Orders.
Each row displays several details. Some are there by default, others can be added. These are the available options:
- Order number and customer name,
- Date of purchase,
- Order status,
- Billing address,
- Shipping address,
- Purchase total, and
- Actions.
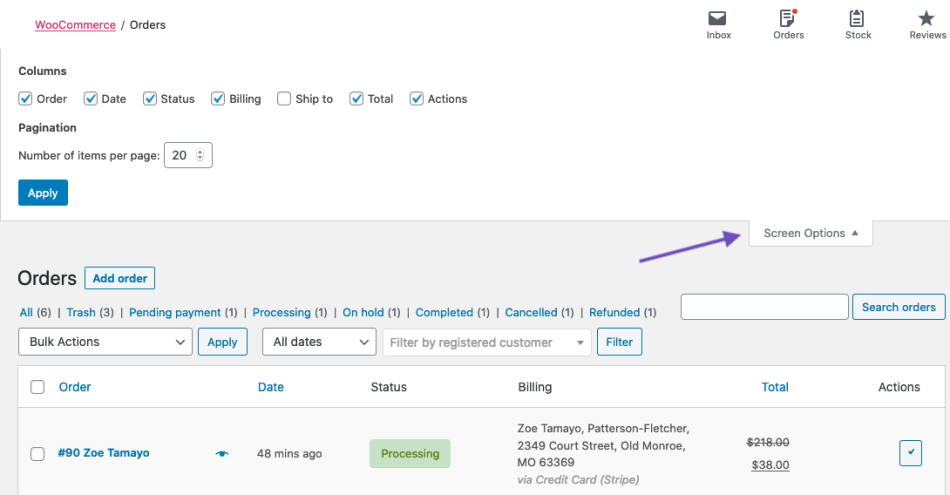
To change these columns:
- Go to: WooCommerce > Orders.
- Select Screen Options in the top right corner.
- Select which Columns to show.
- Select how many Items you want to be displayed on each page.
- Then Apply.
Filter and Arrange Orders
Filter orders by Date (month/year) or by registered customer.
- Select the month, or search for a customer.
- Select Filter.

Arrange orders in ascending or descending order by Order number, Date or Total by select the heading.
Note that the “Total” column does not take the refunded amount into consideration.

Click the order number and customer name to see the Single Order page, where you can also Edit order details, Update Status, and Add Notes. More details on that in Viewing and Editing Single Orders.
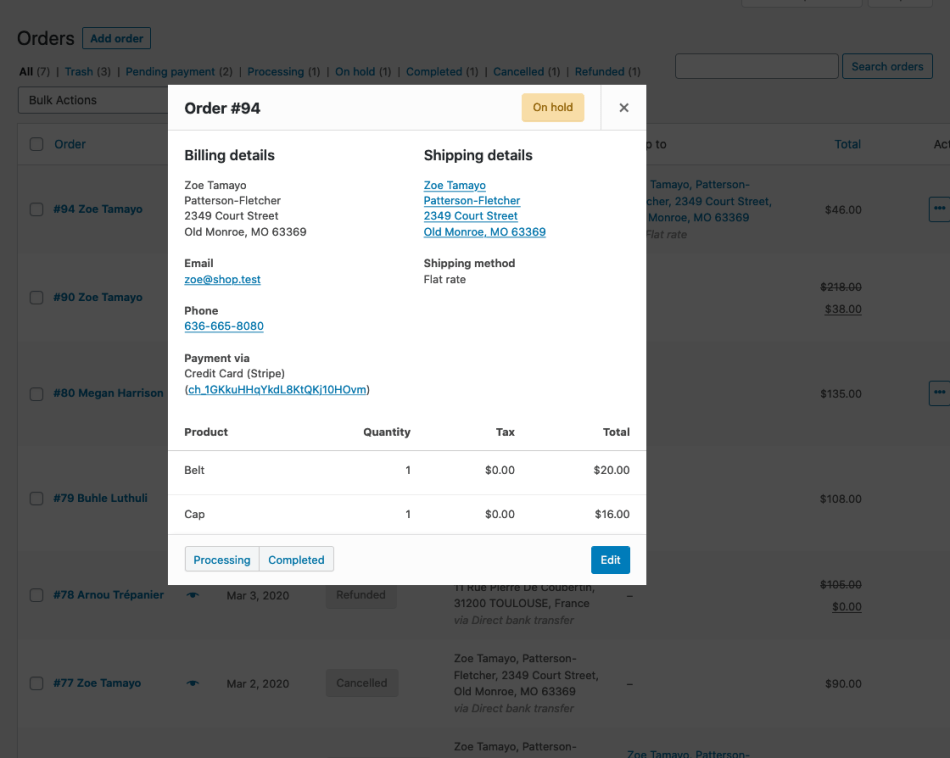
Previewing Orders
Order rows have a Preview “eye.”

Clicking Preview opens a Modal, containing the order number, order status, billing details, payment method, shipping details, shipping method, items ordered, and the option to change the order status.
Was this article helpful?
That’s Great!
Thank you for your feedback
Sorry! We couldn't be helpful
Thank you for your feedback
Feedback sent
We appreciate your effort and will try to fix the article